


Introduction
Embracing the art of DIY acrylic nails can transform your nail care routine, offering a personalized and satisfying experience right from your home. This guide provides you with a comprehensive walkthrough on how to apply acrylic nail powder, ensuring you get professional-quality results without stepping into a salon.
Getting Started with Your Materials
Before diving into the process, ensure you have the right materials on hand. You’ll need acrylic nail powder, acrylic liquid (monomer), a nail brush, nail tips (optional), a nail file, and a buffer. Proper preparation is key to achieving a flawless finish.
In this journey to beautiful nails, it’s crucial to follow trusted methods and products. Follow this step-by-step tutorial for applying acrylic nails at home to ensure you’re using techniques endorsed by nail care professionals.
Step-by-Step Application
Step 1: Prep Your Nails
Start by cleaning your nails. Remove any old polish, trim, and file them to your desired shape. Push back the cuticles and buff the surface of your nails to remove the shine, which helps in better adhesion of the acrylic.
Step 2: Apply the Nail Tips
If you choose to use nail tips, select the appropriate size for each nail. Apply a small drop of glue to the tip and press it firmly onto your natural nail. Once secure, trim the tips to your preferred length and shape.
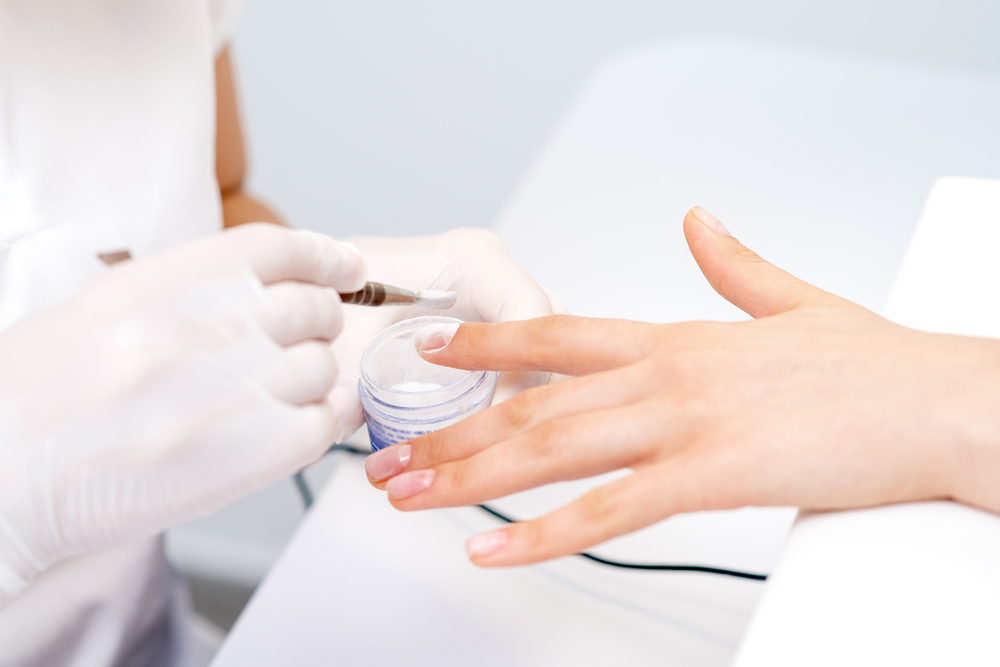
Step 3: Mix the Acrylic
Pour a small amount of monomer into a glass container. Dip your brush into the monomer, wipe off excess liquid, then dip it into the powder. Aim for a bead-like consistency on the brush.
Step 4: Apply the Acrylic Mixture
Place the bead of acrylic onto your nail, near the cuticle. Gently pat the bead using the body of the brush, spreading the acrylic evenly over the nail surface and tip. Smooth it out to prevent any lumps or unevenness.
Step 5: Shape and Buff
After the acrylic has dried, shape the nails with a file and smooth the surface with a buffer. Ensure the edges are even and the surface is smooth enough for polish, if desired.
Step 6: Finishing Touches
Apply a coat of nail polish or clear top coat to add shine and protect the acrylic. Let it dry completely.
Tips for Maintenance
Maintaining acrylic nails at home requires a few essential tips for best results. Start by ensuring your nails are clean and dry before applying the acrylic powder to prevent lifting. Use a high-quality primer and liquid monomer to create a smooth, durable base. Apply the acrylic powder evenly, working in thin layers to avoid clumping and ensure a natural look. Regularly file and shape your nails to maintain their appearance and avoid snagging. Lastly, keep your cuticles moisturized and avoid harsh chemicals to extend the life of your acrylic nails and keep them looking fresh.
Conclusion
Mastering the application of acrylic nails at home is a valuable skill that can save you time and money. By following these detailed steps, you ensure durable and stylish nails that reflect your personal flair. Remember, practice makes perfect, so don’t hesitate to refine your technique with each application! By learning to do your acrylic nails at home, you not only enhance your nail game but also embrace a fun and creative way to express yourself. Happy polishing!